
Choosing the right Tile Leveling Spacers can determine whether a finished surface looks precise or subtly uneven. A clean installation depends on more than attractive packaging. Tile thickness, joint width, adhesive movement, and the installer’s working method all affect the final result. Even a small height difference can catch light across a kitchen floor or bathroom wall.
This guide presents seven practical tips for selecting Tile Leveling Spacers with greater confidence. It considers clip size, wedge or cap design, reusable components, material strength, and compatibility with porcelain, ceramic, and large-format tiles. It also explains why the correct joint width matters. A narrow clip may suit rectified tiles, while handmade tiles often need more tolerance. Check the manufacturer’s specifications carefully. Not every system fits every tile.
Real installation experience also teaches caution. Stronger pressure does not always create a flatter surface. Excessive tightening can shift adhesive or stress delicate tile edges. Small details matter. The substrate should be stable, and the adhesive must remain workable during adjustment. I have sometimes focused too much on the leveling tool and overlooked surface preparation. That mistake is worth remembering.
The best choice balances accuracy, ease of removal, durability, and cost. Testing a few spacers on spare tiles can reveal problems before they spread across an entire room. With careful comparison and honest attention to site conditions, these seven tips can help produce cleaner joints and a more reliable finish.
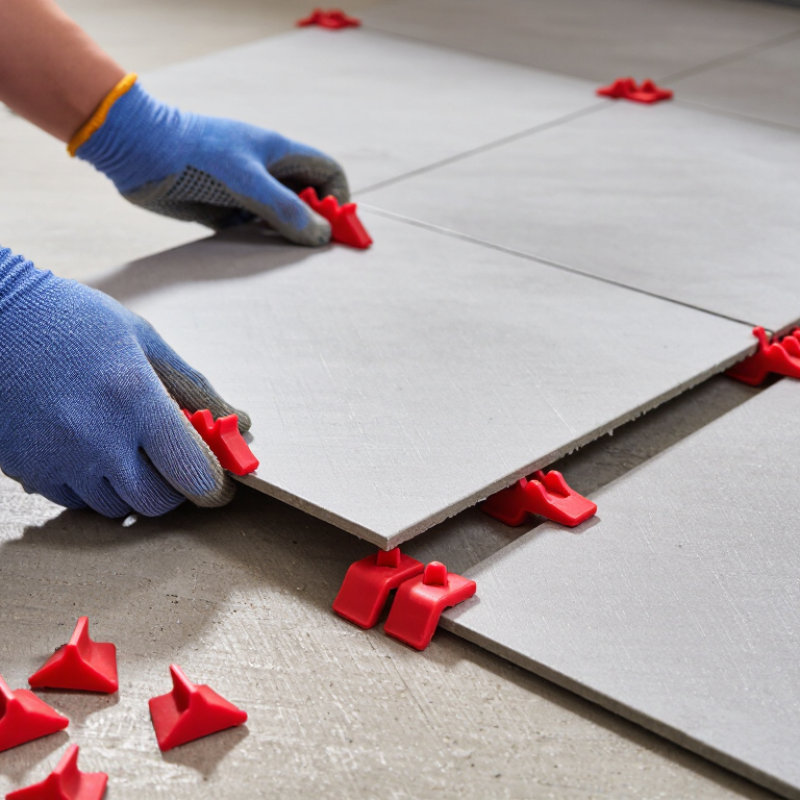
Tile leveling spacers help adjacent tiles stay on the same plane while the adhesive cures. They reduce lippage, which is the raised edge between nearby tiles. This matters most with large-format tiles and strong side lighting. A flat surface remains essential. Spacers cannot correct a deeply uneven floor.
In my installation experience, selecting the right system starts with the grout joint. Check the tile thickness, edge shape, and recommended joint width. Choose clips that fit securely beneath the tile edges. Wedges should apply steady pressure without cracking corners. The system must also match the adhesive’s working time. I once trusted spacers too much. The substrate still needed correction.
Use clean clips and place them a short distance from tile corners. Keep adhesive away from the clip base, or removal becomes difficult. Press tiles gently into the adhesive before inserting wedges. Excessive pressure can squeeze out too much adhesive. After the adhesive sets, remove the clips according to the installation instructions. A sideways tap usually works better than lifting upward. Inspect the surface under a straightedge. Small variations may remain, and that is worth accepting when correcting them would damage the tile. Good spacers support careful workmanship; they do not replace it.

Tile leveling spacers can improve alignment, but spacer size must match your tile layout. A small choice can change the entire floor pattern.
Tip 1: Measure the tile edge before buying spacers. Use the narrowest planned joint, not the widest one.
Tip 2: Choose 1/16-inch spacers for tight, polished layouts when the tile edges are accurately cut.
Tip 3: Use 1/8-inch or wider joints for handmade, textured, or slightly uneven tiles. Wider gaps can hide small size differences. Always check local installation guidance.
Tip 4: Dry-lay several tiles first. Place them beside walls, corners, and doorways. This reveals whether your chosen joint creates awkward slivers.
Tip 5: Match the spacer shape to the pattern. Cross spacers suit grid layouts, while T-shaped spacers help with staggered rows.
Tip 6: Keep the joint consistent around fixtures and thresholds. Uneven gaps are obvious under strong lighting.
Tip 7: Consider grout depth and cleaning needs. Very narrow joints may demand cleaner tile edges and more careful workmanship.
In my experience, leveling clips do not correct every problem. They can reduce lippage, but they cannot fix a warped tile or an uneven substrate. I once selected spacers by appearance alone, and the final border became too narrow. Rechecking the dry layout would have prevented that mistake.
Measure twice. Install once.
Match the spacer system to the tile material. Porcelain often needs firm clips because it is dense and heavy. Softer ceramic tile may require gentler pressure to avoid edge marks. Natural stone needs extra care, especially around fragile corners.
Check the tile thickness before buying. A spacer made for thin tile may fail on thick slabs.
Consider the tile format. Large tiles benefit from stronger leveling clips, while small mosaics usually need flexible spacers.
Select the joint width carefully. Narrow joints show unevenness quickly. I once chose a system with oversized clips, and cleaning the joints became frustrating.
Match the system to the installation surface. Uneven concrete may need adjustable clips and careful substrate preparation.
Think about working speed. Reusable wedges can help on larger floors, but they still need consistent pressure.
Test a few pieces first. Place spacers near corners and along long edges, then inspect the surface from several angles. Do not trust appearance alone. Some systems feel convenient but leave pressure marks after removal. I also recommend checking removal timing, since hardened adhesive can make clips difficult to break cleanly. Your tile type, joint width, and installation conditions should guide the final choice.
Choosing the Best Tile Leveling Spacers
On real flooring projects, spacer quality affects alignment, grout width, and installation speed. Check the material first. Strong, resilient plastic should resist bending under tile pressure. Brittle pieces may snap inside narrow joints. Small details matter.
Test the spacers dry before spreading adhesive. Look for clean edges and consistent thickness. Uneven molding can create irregular grout lines. Choose a design that releases easily after the adhesive firms. Removal should not damage fresh tile corners. That matters.
Reusability deserves careful evaluation. Some rigid spacers survive several rooms, while softer parts wear quickly. Inspect threads, clips, and contact surfaces after each use. Replace pieces that twist, crack, or lose tension. Do not guess. Follow the manufacturer’s stated reuse guidance, but verify it through practical handling.
Ease of use includes visibility, grip, and removal. A spacer should remain stable without forcing the tile out of position. Gloves can make tiny pieces difficult to handle, so textured surfaces help. Confirm that the system suits your tile thickness and joint width. Tile size also matters. Large tiles need steady pressure and accurate leveling. I once trusted a reusable set too long, and worn clips caused subtle height differences. The mistake was small, but correcting it took hours. Reliable spacers should support careful work, not hide weak preparation. Dry-fitting several tiles can reveal problems before adhesive makes them permanent.
Choosing tile leveling spacers starts with compatibility, not price. In projects I have supervised, I check tile thickness, edge shape, joint width, and substrate flatness. A spacer designed for 8-millimeter tile may fail on 12-millimeter porcelain. Rectified tiles usually need narrow, consistent joints. Handmade tiles need more tolerance. Check package measurements against the actual tiles. Small variations matter.
Cost includes clips, wedges, pliers, waste, and replacement pieces. A cheap kit can become expensive when clips snap or wedges slip. I measure the installation area, then add 10 to 15 percent extra clips. That allowance prevents a mid-project delay. Still, higher cost does not guarantee better accuracy. Test a small section first. I once ignored this step, and wedge pressure marked a soft tile edge. That mistake changed my buying checklist.
Installer reviews reveal practical details that specifications miss. Look for comments about release after curing, clip breakage, wedge grip, and cleanup time. Reviews with close-up photographs deserve more attention than vague praise. Read recent feedback from installers using similar tile sizes. One complaint may be isolated, but repeated complaints suggest a pattern. I compare several review sources because ratings can be incomplete or overly emotional. Ask whether the reviewer describes conditions clearly. A reliable choice should fit your tiles, budget, and working method.
Precision Cable Assemblies
16830 Pheasant Drive
Brookfield, WI 53005
Phone: 262-784-7887
Fax: 262-784-0681